In this second post on the topic of rotational grazing, I'm going to show how I divided my 3-acre pasture up into thirds. I did not want to add permanent wood cross-fencing for several reasons. 1) It's expensive. 2) I wanted to be able to experiment with the sizes of the sections. 3) Adding more wood fencing would make the view from the house look rather cluttered, especially since the lines of fence wouldn't be parallel to each other due to the shape of my pasture and where the gate and water are.
For more on my layout and how rotational grazing appears to have benefitted my pasture, see my
last post on the topic.
Planning My Rotation Layout
In my opinion, the ideal rotational grazing layout involves a central area containing water and shelter. Preferably, unless you live in a very dry climate, this area will have improved footing (grid, stonedust, etc) to keep it from turning to mud. It should also have good sturdy fencing, possibly topped with electric, because it will sometimes be the only thing between your horses and beautiful, tempting grass. The "foyer" area should have gates to each of your rotational grazing sections, so you can close one gate and open the next when it's time to rotate. This area can also function as a dry lot, where you keep your horses when the grass needs to be protected from them (e.g., parts of winter) or when they need to be protected from it (e.g., easy keepers during spring).
My first year of rotational grazing, I didn't have a dry lot. Instead I divided my pasture so that both lines of tape converged near the gate and frost-free hydrant. Tape gates (see below) gave access to the two sections that didn't have a permanent gate in the perimeter fence, and when I moved the horses I moved the water trough from one section to the next. It was a pretty easy solution. Here's what it looked like:
This fall I had the pleasure and good fortune to have a more permanent dry lot installed. It has a Nelson auto waterer and a shed, so the horses will always have access to water and shelter. To turn them out, all I have to do is open one of my three gates, each leading to a different section of the pasture. (For more info on the dry lot construction, check out
this post.) The sections are a little more evenly sized, so just under 1 acre each I believe. Here's what the layout is now, roughly (looking forward to the next Google Earth update!):
Three sections are about right for my small area, though I could probably push it to four without making the near end too narrow. If you have more pasture, dividing it into more sections will allow each to rest longer. Obviously, where you set your cross-fencing will depend a lot on the shape and layout of your existing pasture; where you have water, shelter, and gates; as well as any natural features like trees, low spots, streams, hills, etc.
Adding Cross-Fencing
For my cross-fencing, I chose to use brown Horseguard tape based on its many good reviews. At the far end (away from the gate) I attached it to the wood fence with Horseguard tensioners. I then stretched it as tight as I could by hand and secured it at the near end. It helps to have a second person for this part. Once it was a little bit taut, I added my step-in posts along the line, then tightened it more. I found that if I tried to do the posts before I made the tape taut, the line would never be straight. Step-in posts are hard to get perfectly straight anyway so make it as easy on yourself as possible! I prefer
these fiberglass posts from Tractor Supply--they are almost invisible from far away and have proven more durable than the plastic ones.
At the near end (closest to the main gate and the path to/from the barn), I needed to add tape gates to allow access into the two sections that don't have gates in the perimeter fence. Horseguard and other brands sell gate handles with springs in them so the tape can stay under some tension. I tried
spring gates first and while it's handy that they retract when not in use, I had an incident involving one that made me take them all down (long story short: mare swished her tail, got it caught in spring gate, probably got shocked, freaked out, jumped over/through the permanent pipe gate, and galloped all over the backyard with 50 feet of un-sprung spring gate trailing behind her in her tail).
To make each tape gate, I needed a sturdy post to anchor the long line of Horseguard. Long runs of tape get heavy and need to be under a certain amount of tension to stay in place, especially when it's windy. I started with a T-post with a
cover but after an incident with the T-post (involving the same mare as the spring gate!), I replaced it with a wooden post. I set the posts about 12 feet away from a perimeter fence post, on a straight line with the cross-fence.
Here are some close-up photos of the fence:
 |
This is how the Horseguard cross-fencing is attached to the perimeter fence at the far side of the field (away from the gate).
|
 |
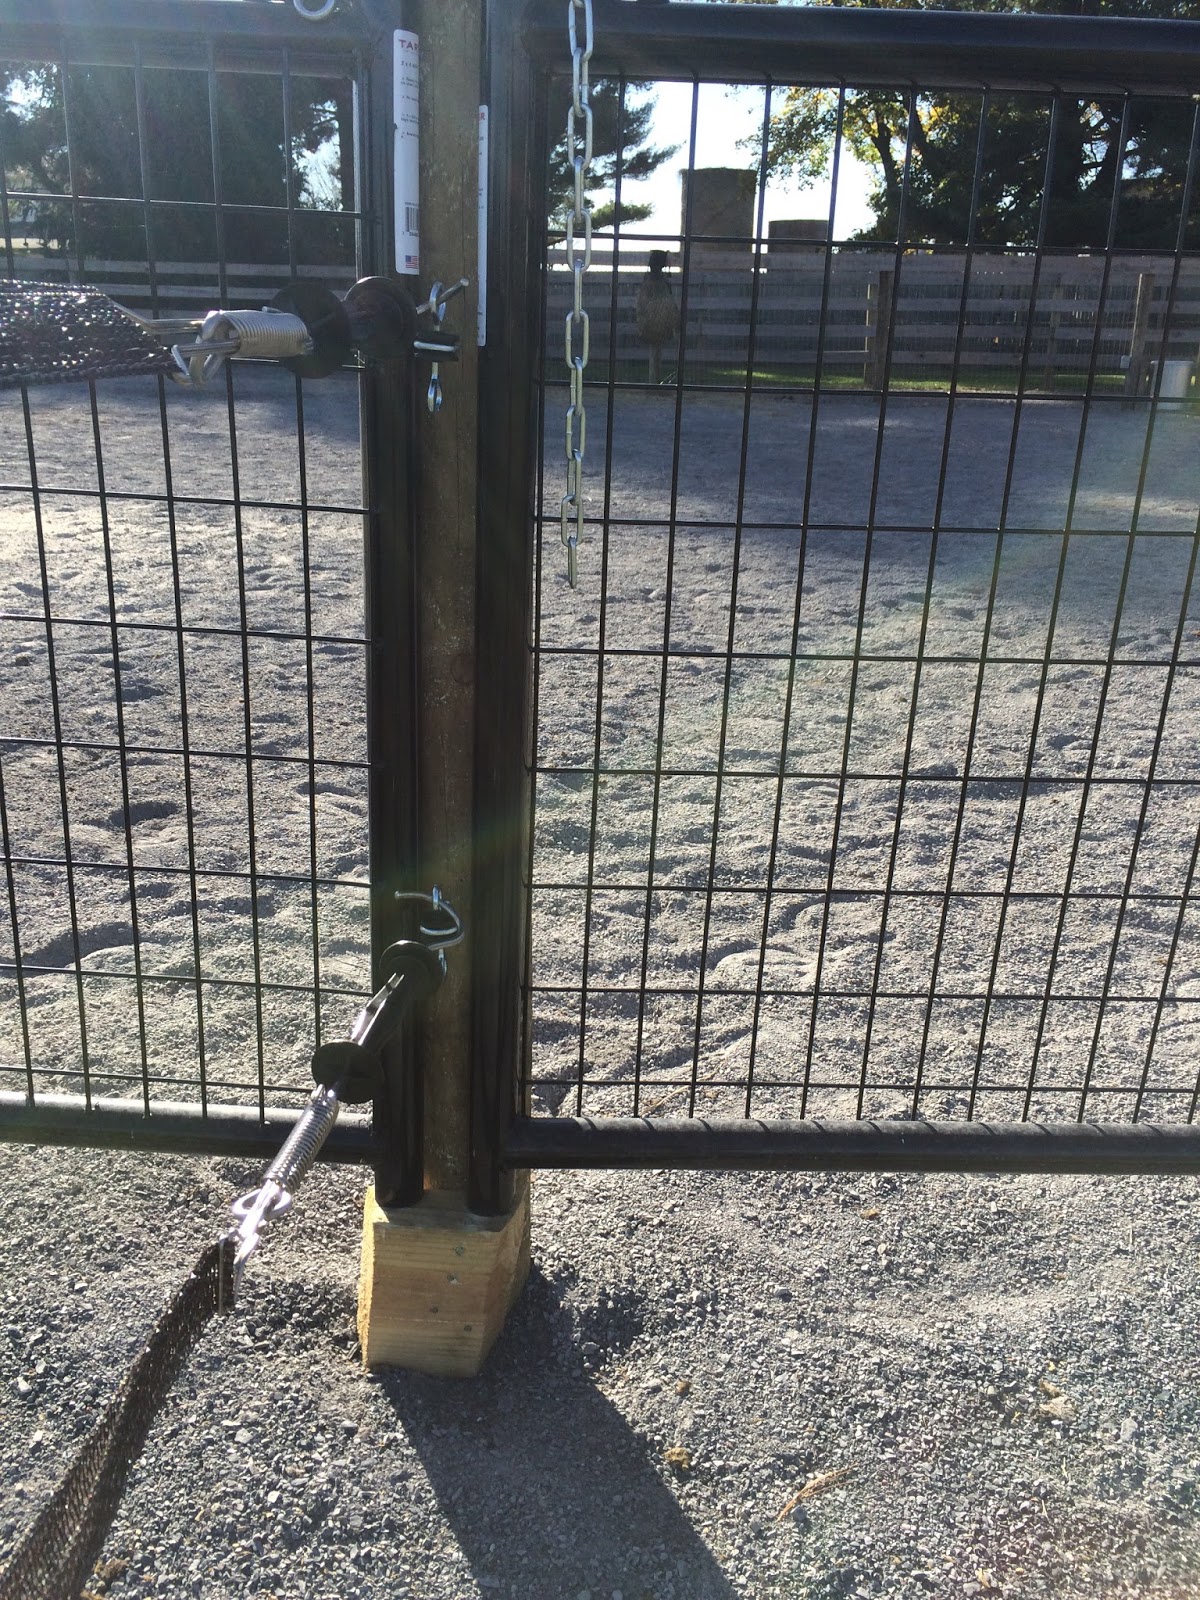
| Gate anchors (basically insulated screw eyes) can be handy in tight spaces like between these two gates, where Horseguard tensioners don't fit. |
 |
| When the ground is firm, you may need to drive the step-in posts with a hammer. Use a block of wood to protect the post. |
 |
| In this shot, you can just barely see the covered T-post that serves as a gate post for the line of Horseguard separating Sections 1 and 2. Note: This fence isn't ideal for separating groups of horses since it's very low and relies on their respect for electricity, so I wouldn't recommend turning groups of horses out on both sides of it! This was a very temporary situation. |
 |
| Here, the T-post has been replaced with a wooden post sunk in concrete. The permanent fence is behind the camera, so when the gate is closed the whole line of fence is straight(ish). You can see that when the tape gate is open it can be hung on the fence to keep it out of the way. The young horse on the right missed the gate and is trying to figure out why there's a fence between him and his friends...clearly he isn't the brightest bulb. I'll help him out in a moment then close the gate behind him, before he gets anxious enough to go over/through the cross-fence. (In case you're wondering, the red blur on the left is caution tape used to temporarily keep the horses off some newly seeded grass.) |
 |
| Here's a view from the new dry lot, looking out into the newly enlarged Section 1. The cross-fencing separating Sections 1 and 2 is visible on the right side of the picture. The dry lot makes it super easy to rotate the horses from one section to another! |
To keep the fence hot, I installed a Zareba charger and three ground rods wired in a series. (Horseguard's bipolar tape does not need to be grounded but does require their specially-designed tensioners and insulators, which put me off. In retrospect I might have preferred it though.) The charge on my fence is relatively weak for some reason (cheap charger? poor grounding?) but the horses respect it very well. Many electric fence chargers aren't intended to be kept out in the elements, so I mounted a
$4 Sterilite box on a pole to protect it:
 |
| It's not as crooked as it looks in the picture... |
I've been really happy with this method of cross-fencing. In this shot taken from the house, you can see the final result. I'm impressed by how unobtrusive brown Horseguard on black or gray step-in posts is (it's there, I promise!):
 |
| One line of Horseguard goes from the willow tree on the left to the gates in front of the shed near the right. Another one goes from near the gate at the back left to the left rear corner of the new greenish shed. Nice how invisible they are from far away, right? |