I have been really wanting a dry lot and I finally have one! I wanted to share some photos of the upgrade.
Here are some before pictures that illustrate why you might want a dry lot to preserve your pasture:
 |
| The area where the dry lot is now, all torn up in January. It got worse as the winter progressed. As you can guess from the green grass, last winter started unseasonably late--we had thunderstorms on Christmas! So this shows less damage than typical. |
 |
| Hoof damage near the gate and feeder pad. |
Here are some photos of the dry lot construction process:
 |
| First, the topsoil was stripped and and the subsurface was graded. |
 |
| The stonedust has begun to arrive! The shed pad at the front right corner has a special compacted base. |
 |
| While the grading is done, the grid that will help prevent erosion is laid out to "relax" and spread out. It arrived tightly packaged. |
 |
| Here is the grid getting staked out, to keep it stretched in place while it is backfilled with stonedust. It was positioned across the center of the dry lot to reduce erosion caused by water draining across the surface. |
 |
| Half of the grid has now been carefully filled in with stonedust. It's a bonus that the grid covers the area around the newly-installed Nelson auto waterer because that is likely to be a high-traffic area. |
 |
| Here's a close-up of the grid as it's filled in. |
 |
| Most of the stonedust has now been spread. Dominick the Donkey immediately investigates the modification to his home. |
 |
| The finished pad for the run-in shed, with the four corners staked out and lots of hot tape to keep the horses off the newly seeded areas. |
 |
| Dominick chilling on the eastern edge of the dry lot. You can see that it sits several inches above ground level. |
 |
| The northwestern edge, which curves around to the shed pad. |
 |
| The fence is up! Horse and donkey investigate the brand-new fence, which is five-foot-high wire mesh with a top board. The gates in this pic will lead to the bottom and middle thirds of the pasture, once I move the Horseguard cross-fencing. The shed will go in the corner above the donkey in this picture. |
 |
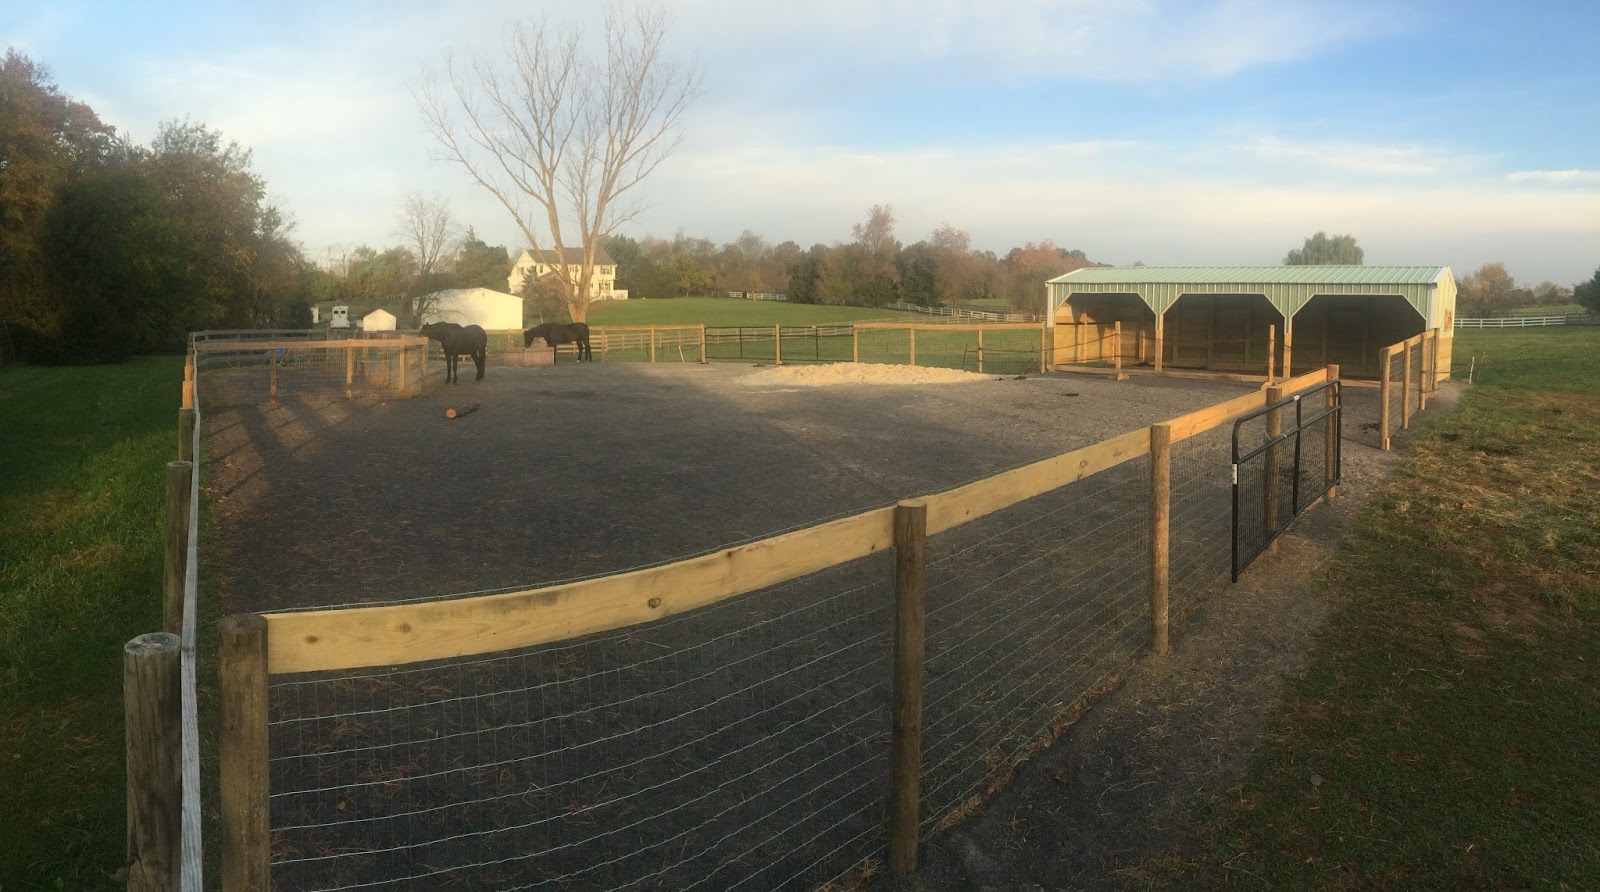
Here's a view of most of the space, standing just inside the gate to the barn. Straight ahead is a gate to the top third of the field. Gates to the bottom and middle thirds are on the left (one open). The shed will go in the back left corner.
The shed has now arrived!
I'm happily transitioning the boys to an outdoor lifestyle. Turning in/out is SO much easier now that all I have to do is open and close gates!
The dry lot has a total area of 7,031 square feet (including the pad for the shed). Here are its dimensions per Google Earth:
One future upgrade I'm considering is a scratching post so they don't use the fence and shed (in theory). I'll also be adding a small shed for storing a week's worth of hay.
The dry lot was built by K&L Contracting, who also built my arena. I cannot recommend them highly enough!
I should warn you though that a dry lot like this does not come cheap! The earthwork, stone, and four erosion control grids cost almost $18k. That doesn't include fences, gates, the shed, the Nelson waterer, or running power/water to the shed and the waterer.
Caveat: Even more than other types of construction, excavation work is HIGHLY variable. Even if you want a dry lot exactly the same as mine, it may require a very different construction process depending on your terrain, slope, drainage issues, soil type, etc. Material costs can also be affected by time of year and distance from the quarry. So while I give you my costs as an example, you should not expect yours to be the same!
|